At home and around the office, wires complicate our lives. Yet, whether you're installing a new remote data center or simply adding a few accessories to your desk, cables are the gateway to increased productivity and access to the digital world. In other words, they're here to stay.
One approach to cable organization is to simply ignore them and cram every cord behind a cabinet, shelf or desk. The other, more reliable approach is to keep wires organized in a way that enhances accessibility while keeping them neatly out of sight.
With the right tools and a little creativity, organizing your home or office cables is a simple, low-cost project.
ZIP TO BEGIN

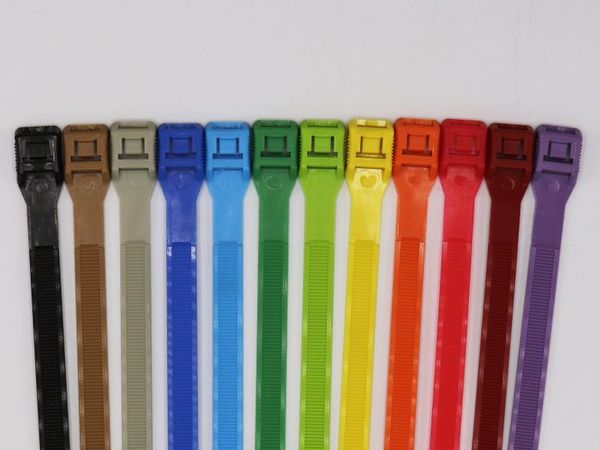
Cable ties are the first defense and lowest cost solution for wire organization—they are also incredibly easy to use. If you've never used a cable tie, pick one up and begin by feeding the thin end into the catch at the other end. If the thin end does not immediately pass through the catch, flip the cable tie over and try threading it in that way. You'll know it is working if the slack feeds through and makes a "clicking" sound. Once inserted, the tie cannot be reversed. Continue pulling through until you reach the desired loop diameter. The remaining slack is easily removed using heavy-duty scissors or wire cutters.
[insert image]
ORGANIZING YOUR CABLES
A broad loop can be used to pass any selection of cables through so they remain separate from other wires. Categorizing your power inputs, or all wires headed to a monitor display, for example, is an appropriate first step. There is no need to strangle the chords very tightly with a cable tie. Ensuring some slack remains will allow them to move freely if you need to extend an individual cord.
[insert image]
You may decide to add a little more definition into your cable bundles by using separators. To do so, thread a zip tie between each designated wire and across the bundling zip tie to create an interior loop separator. Tighten this a bit more so the cables are "trapped" but will run smoothly.
[insert image]
Repeat this process for as many wires as you like until all wires are separated. When all loop separators are in place, tighten the cable ties while leaving some clearance for movement. Cut the cable tie tails off of your loom and move on to the next bundle.
Creating a wire bundle with individual cable tie separators allows you to immediately identify cables that may need removing. Similarly, you may add new cords to your loom with additional loop separators.


