Motorcycle Wiring and Electrical Repair Tips
Most motorcyclists prefer riding their bikes to fixing them. Even if you are the type who doesn’t mind puttering around in the shop some days, nobody wants to have one of those frustrating days where you spend hours tracking down an elusive problem that you can’t figure out, let alone fix.
Motorcycle electrical repair is, hands down, the single most annoying part of working on your bike. We’re going to help you with that.
Here are some tips to help you get your electrical system fixed faster, and — more importantly — make sure it stays fixed.
1. Always Start with the Right Wiring Diagram
You might think: it’s a motorcycle, how complicated can the wiring be? The answer is very. While you might feel that you can trace the wires and figure out the proper wiring configuration, it’s a lot easier to work on a motorcycle if you begin with a wiring diagram like this one:
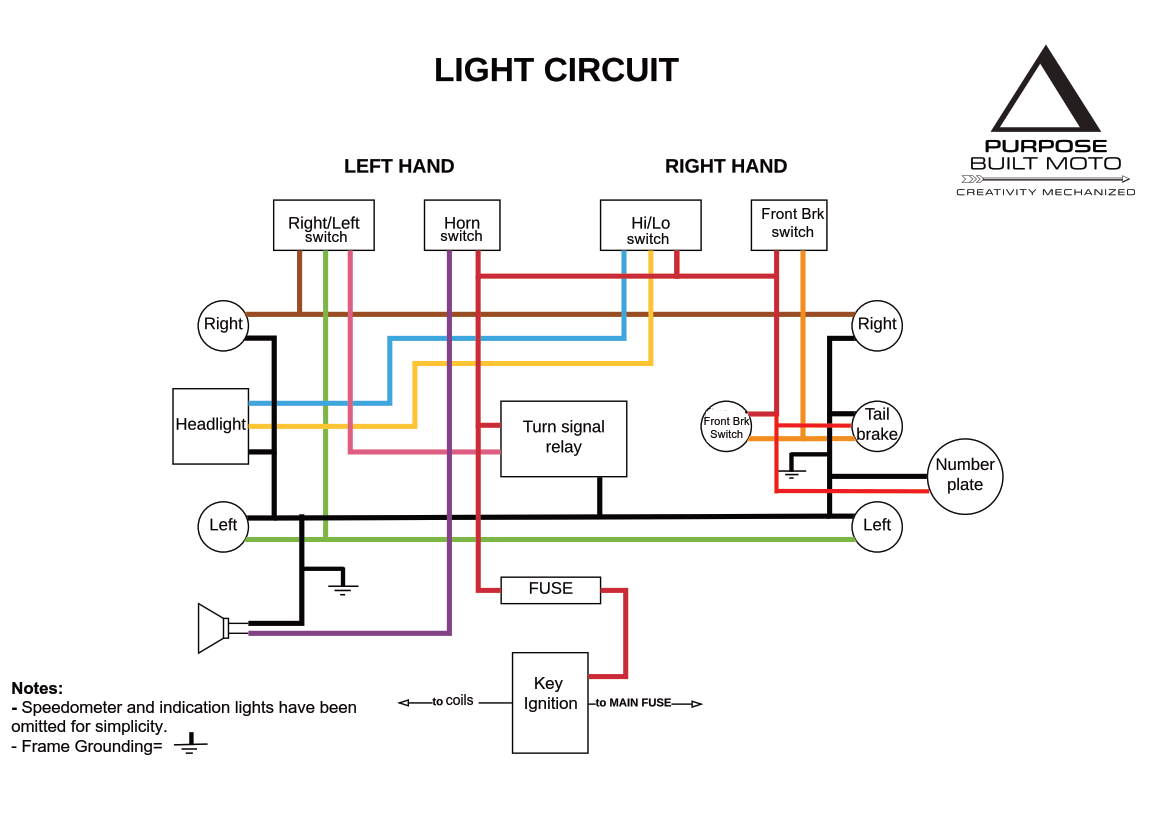
When you reference a motorcycle wiring diagram, make sure it’s the right one — the exact make, model, and year. Wiring can be radically different for slightly different models, and even one year’s difference could mean a radical difference in the wiring.
If you’re working on a classic bike, there’s no guarantee that a previous owner didn’t rewire it. But in that case, your wiring diagram will give you a reference point, and if the problems are grievous, a template to start over.
2. Have the Right Tools and Supplies
The job is always easier if you have the right equipment. You don’t need a lot of tools, but you should have a wire cutter/stripper suitable for all the gauges of wire you’re working with, and a multimeter. Then you’ll want a selection of the proper wires and terminals for crimping or soldering to the wires.
Speaking of wires, always use the proper gauge wire for the components on your motorcycle. Using too small a wire can lead to dangerous heat, and chunky wires are hard to thread through your motorcycle. Find out the amp draw for components and check a reference guide to find the proper wire based on the circuit’s length. If a component doesn’t have a listed amp draw, you can use your multimeter to test or estimate it based on the power output. Watts = amps X voltage, so divide the watts by your voltage (usually 12) to get the minimum amp draw. Then, double this figure to account for the power loss in the component.
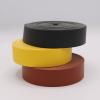
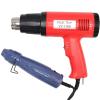
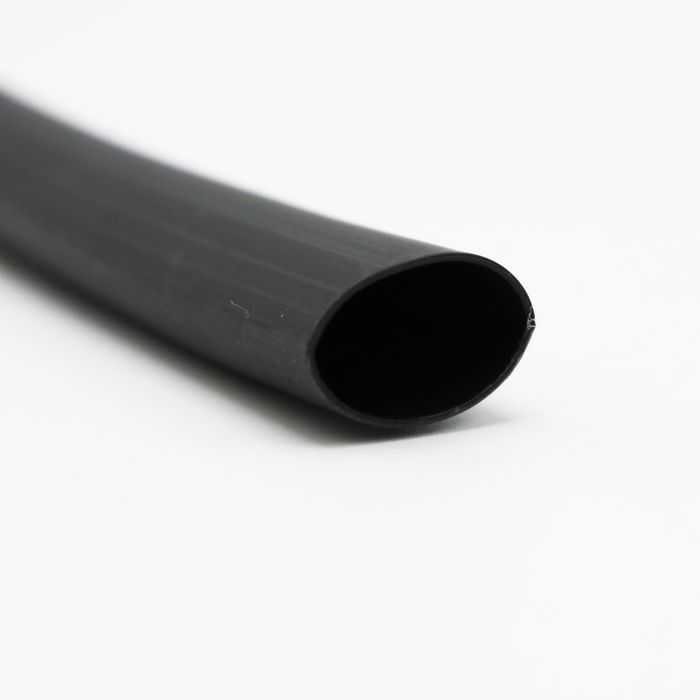
You’ll also want to have a selection of heat shrink and a heat gun suitable for shrinking it. Heat shrink tubing is going to save you a ton of time and energy when fixing your wiring, and if you need to go back in and work on it later. Heat shrink tubing will help you bundle wires and cables to keep them organized, and also gives you the ability to label bundles for later. This way, you aren’t reaching around in the dark wondering what goes where.
For more information on heat shrink tubing for motorcycles, visit our Learning Center.
3. Check Your Grounds
One of the most common and annoying problems with motorcycle wiring is when a system doesn’t have a good ground. A ground completes the circuit, and without access to a properly functioning ground, the system won’t work.
Unfortunately, ground wires can experience many problems. They might be loose, or perhaps they’re not making a good enough connection. Often, people connect ground wires to a painted surface, which can interfere with the current. On the other hand, if you have an unpainted surface for your ground, it can be susceptible to corrosion, which also interferes with the current.
4. Label All the Wires
We know that while rushing to get a repair done, it can seem like a pain to take the time to mark the wires you’ve disconnected. You tell yourself that they won’t stay disconnected for long, so you’ll remember, and, anyway, it’s obvious which is which. We all have a story of how badly that can turn out.
Not remembering which wire goes where can lead to annoying delays as you test the different wires. And in some cases, it can damage the components.
As we mentioned earlier, there are many ways to label your wires, from simple pieces of tape to wiring flags. But, using heat shrink on your wires can serve as a permanent marking system. Heat shrink comes in many different colors, making it a great way to distinguish the wires even in a very complicated junction. Once you place heat shrink on a wire, note the color in your wiring diagram: this will make future motorcycle repair easier and faster.
You can even get your heat shrink custom printed, like this:

5.Organize and bundle
With motorcycles, there is limited space for wires to thread through the machine. Organizing your wires and bundling them into as few separate cables as possible makes it easier to get all the wires where they need to go.
While new motorcycles might have an organized wiring harness, older bikes are often a mess, especially if their previous owners have worked on them. Use your wiring diagram to figure out which wires need to travel next to each other, then use heat shrink to bundle them together. Once you figure out the secret of making a neat Y-junction, you’ll be able to transform that rat’s nest you found into a slick configuration of just a few bundles.
6. Make Secure, Effective, Durable Connections
When you make a wiring connection, you want it to stay connected. If wiring comes loose, components can stop working, and sometimes it can be hard to track where the problem is.
So, when you’re making connections, make sure they’re secure. If you’re skilled at soldering connectors, it might be a good idea to do that. Crimping can also make your connections secure if you use the right tools and techniques. However, it’s often best to discard the plastic sheath on the connector and use heat shrink to secure and seal the junction after crimping.

Choose a style of connector that will be secure. Many people find bullet connectors are adequate, but others advocate for blade-style connectors.
No matter what type of connection you use, try to minimize them whenever possible. For example, don’t splice together two separate wires — replace spliced wires with a single wire that runs the entire length. If you really must splice two wires, take extra care to protect the connections.
7. Protect Your Wires
If you want your motorcycle electrical and wiring repair to stay fixed, you must protect your wires against damage. Three main types of damage will destroy the wiring in your motorcycle:
- Heat
- Moisture
- Mechanical wear
Typically, when you’re organizing and bundling your wires, you can manage to keep wires away from areas that get hot. However, that’s not always possible, depending on the bike. In such cases, choose heat shrink that has an adequate operating temperature for the location.
Unless you’re a fair-weather rider, your wiring is going to have to deal with moisture. Moisture can corrode your wires, which will interfere with your connections, and can cause the wire to break. Make sure the gaskets around your connections are tight and consider using dual-walled heat shrink around connections that will be exposed to the weather.
As with heat, organizing and bundling your wires should help ensure they don’t experience mechanical wear. Try to keep all wires away from moving parts, especially any part of the drive train, which will eat through your wires quickly. Test the full range of motion of your handlebars and make sure that this never causes wires to rub against the edges of components. And to provide additional protection, put a protective layer, such as a braided sleeve, around the wires.
Happy Hunting — and Riding!
Armed with these tips, you should find it easier to wire your motorcycle or repair its electrical system. This will let you spend less time hunting around for problems so you can spend more time out riding. And who doesn’t love getting more time on the open road?
For more information on motorcycle wiring and cable management resources, visit our blog.


